
Cyberpunk Hasselblad
How I turned a classic camera into a digital dinosaur

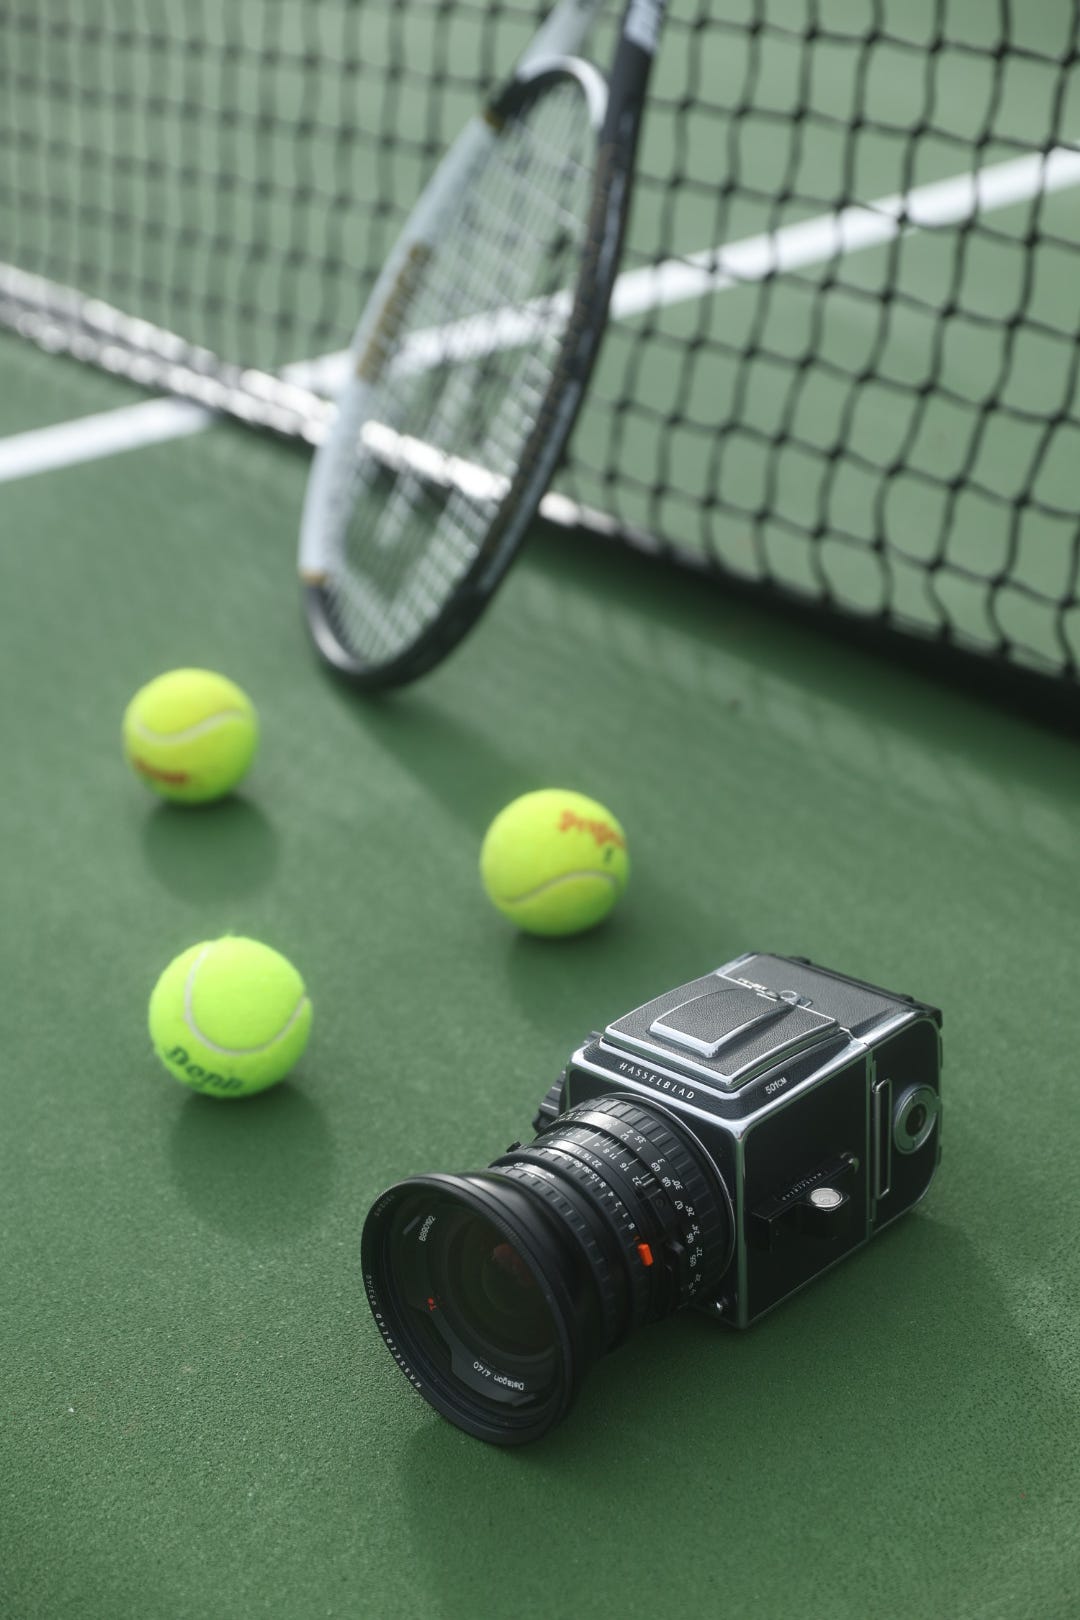
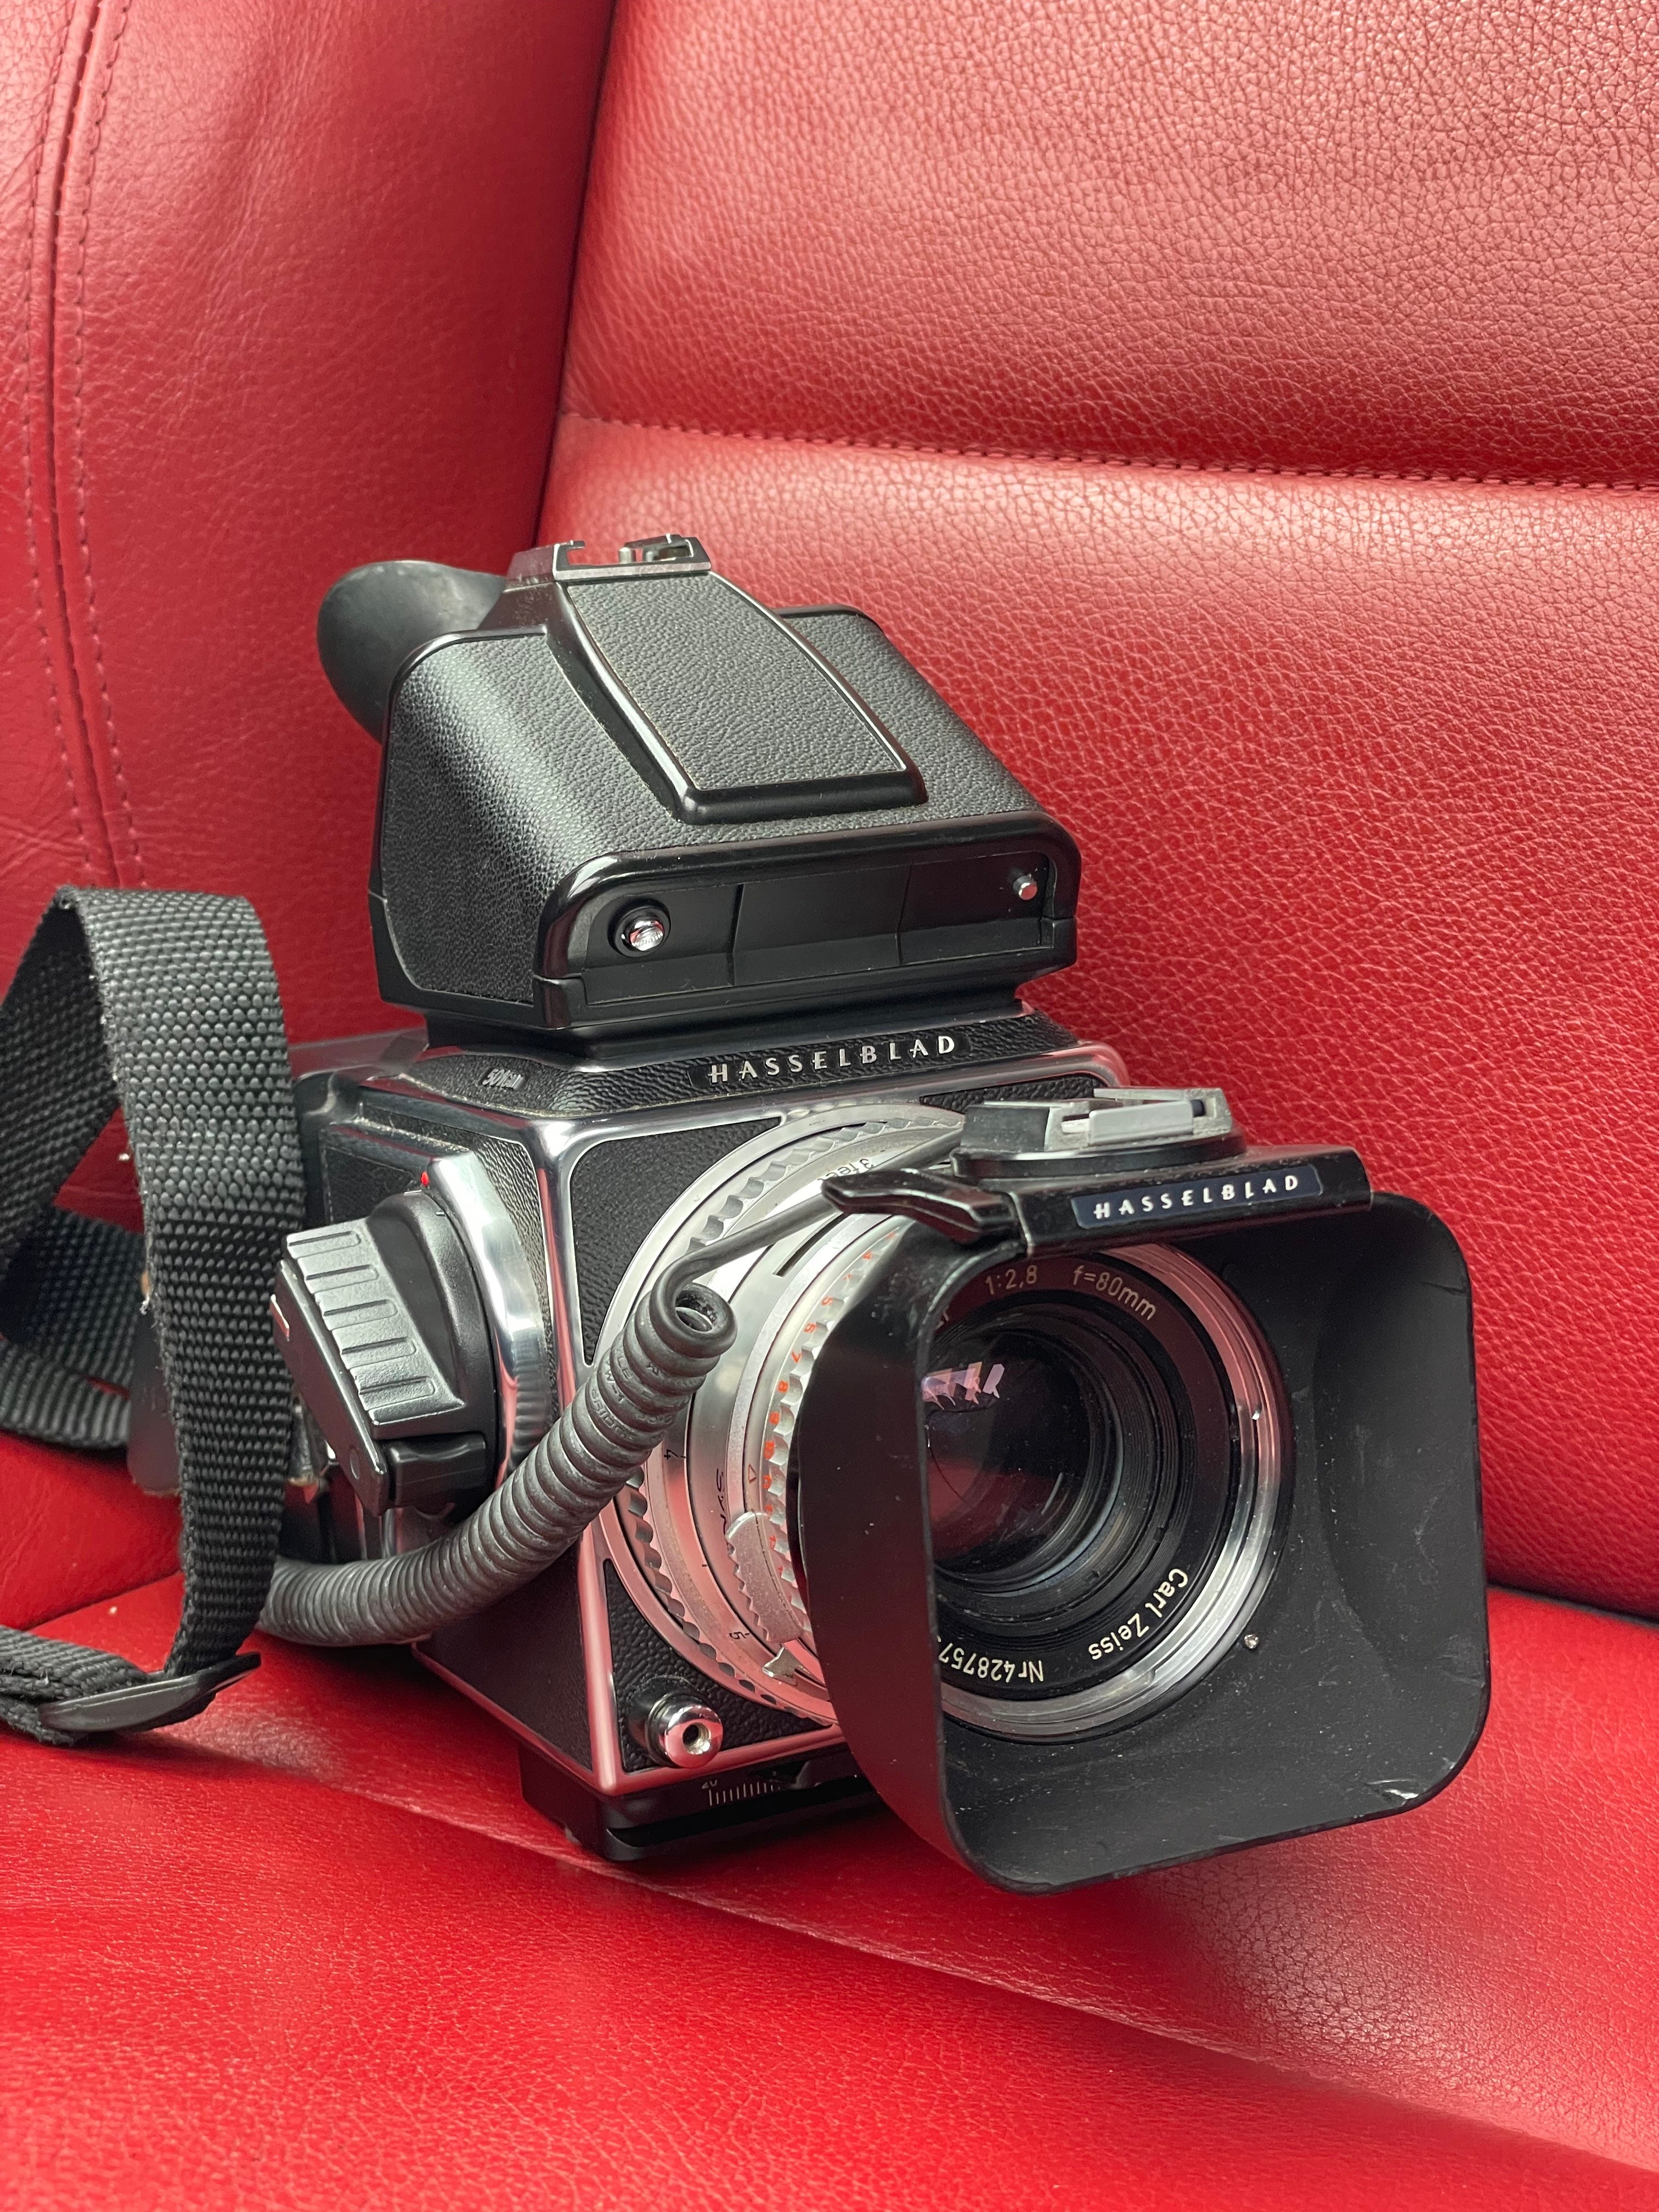
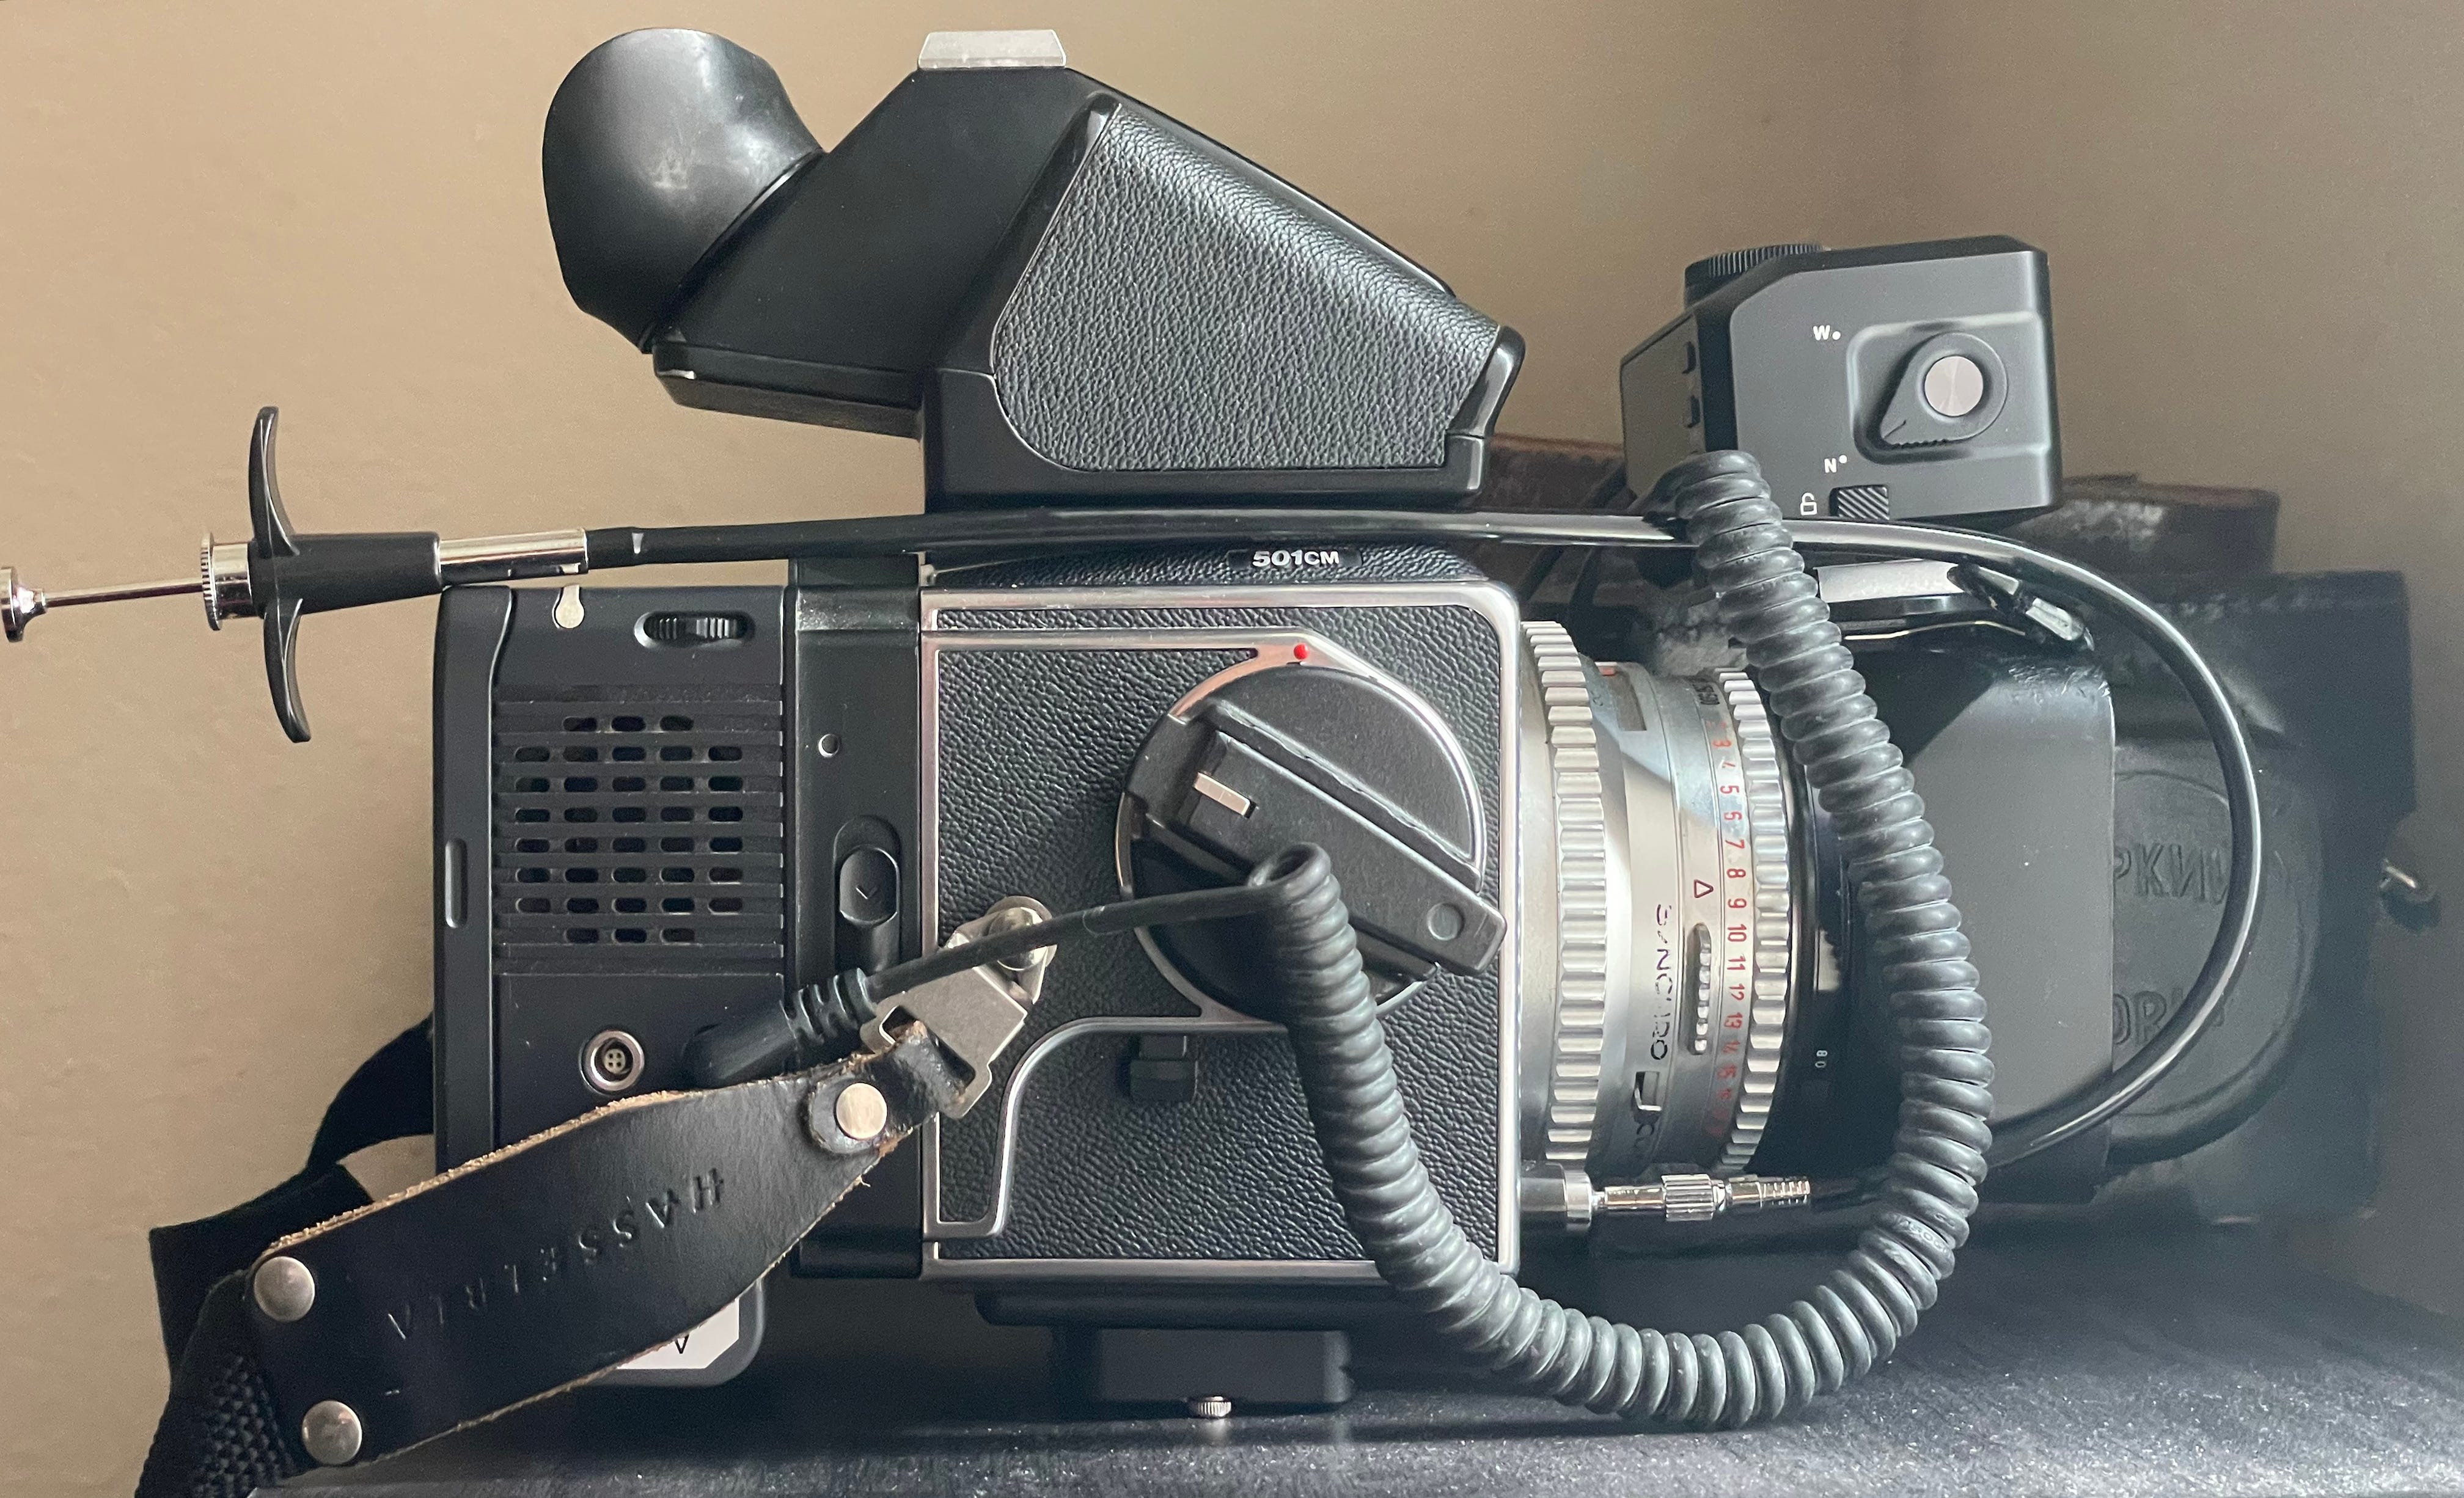
The Hasselblad 500 series cameras are arguably the most iconic and beautiful cameras ever made. Their classic chrome trim, matched with a black textured leatherette, houses Swedish precision engineering.
This modular camera system is usually seen with a pop-up waist-level finder, an A12 film back, and sometimes a silver barrel 80mm f/2.8 Zeiss Planar C.
I was lucky to get mine in April - a late model 501C/M with a 40mm f/4 CFe. Most of 2025, I’ve used it with a first-generation single-coated 80mm lens.
But in November, things started to get a bit out of hand.
The big picture
Photography has been my lifelong hobby. However, my daytime job is a videographer.
At a very early stage of my professional career, I worked on commercial furniture sets for companies to film product videos. I would often be called in to work alongside a photo crew and shoot in between their setup.
In the early 2010s, commercial photographers still used technical cameras with digital medium format backs. Sometimes, they also used Hasselblad 500 series cameras.
I’ve always been fascinated by analogue controls, but I like the idea of capturing images digitally while retaining the flexibility to switch to roll film.
Back then, Phase One or Leaf digital backs cost as much as a nice mid-size German luxury car, or even more. As a young professional focused on video, I couldn’t afford a medium-format digital back just for fun.
This idea has stuck with me for over a decade.
Go big or go home
Getting my Hasselblad in April planted the seed for shooting with a digital medium format back.
I had already started researching digital backs and knew I wanted one in a Hasselblad V-mount.
There are cheaper options, like the Hasselblad H-mount or Mamiya 645, but I wanted the analogue feel of the V system and the iconic camera as an art object.
That’s how I ended up looking at the Leaf Aptus family of digital backs. The Aptus series came after the Valero series. Both used CCD sensors, but the Aptus had a modern LCD screen, while the Valero only allowed image previewing via tethering.
The Aptus 22 and Aptus-II 65 both have the largest CCD sensors of their time, measuring 48mm by 36mm. The later Aptus-II 12R had an even larger sensor at 53.7mm by 40.3mm, the largest ever made for medium-format backs at an even bigger price tag.
A dream no longer
In November, after waiting patiently, I saw an Aptus 22 listed on eBay for a great price. I made an offer, and it was accepted almost immediately.
The unit arrived within a week, and I couldn’t wait to try it on my 501C/M as soon as I opened the box. The sun had already set, but I packed my camera in the truck and drove around the neighborhood.
Discovering boundary
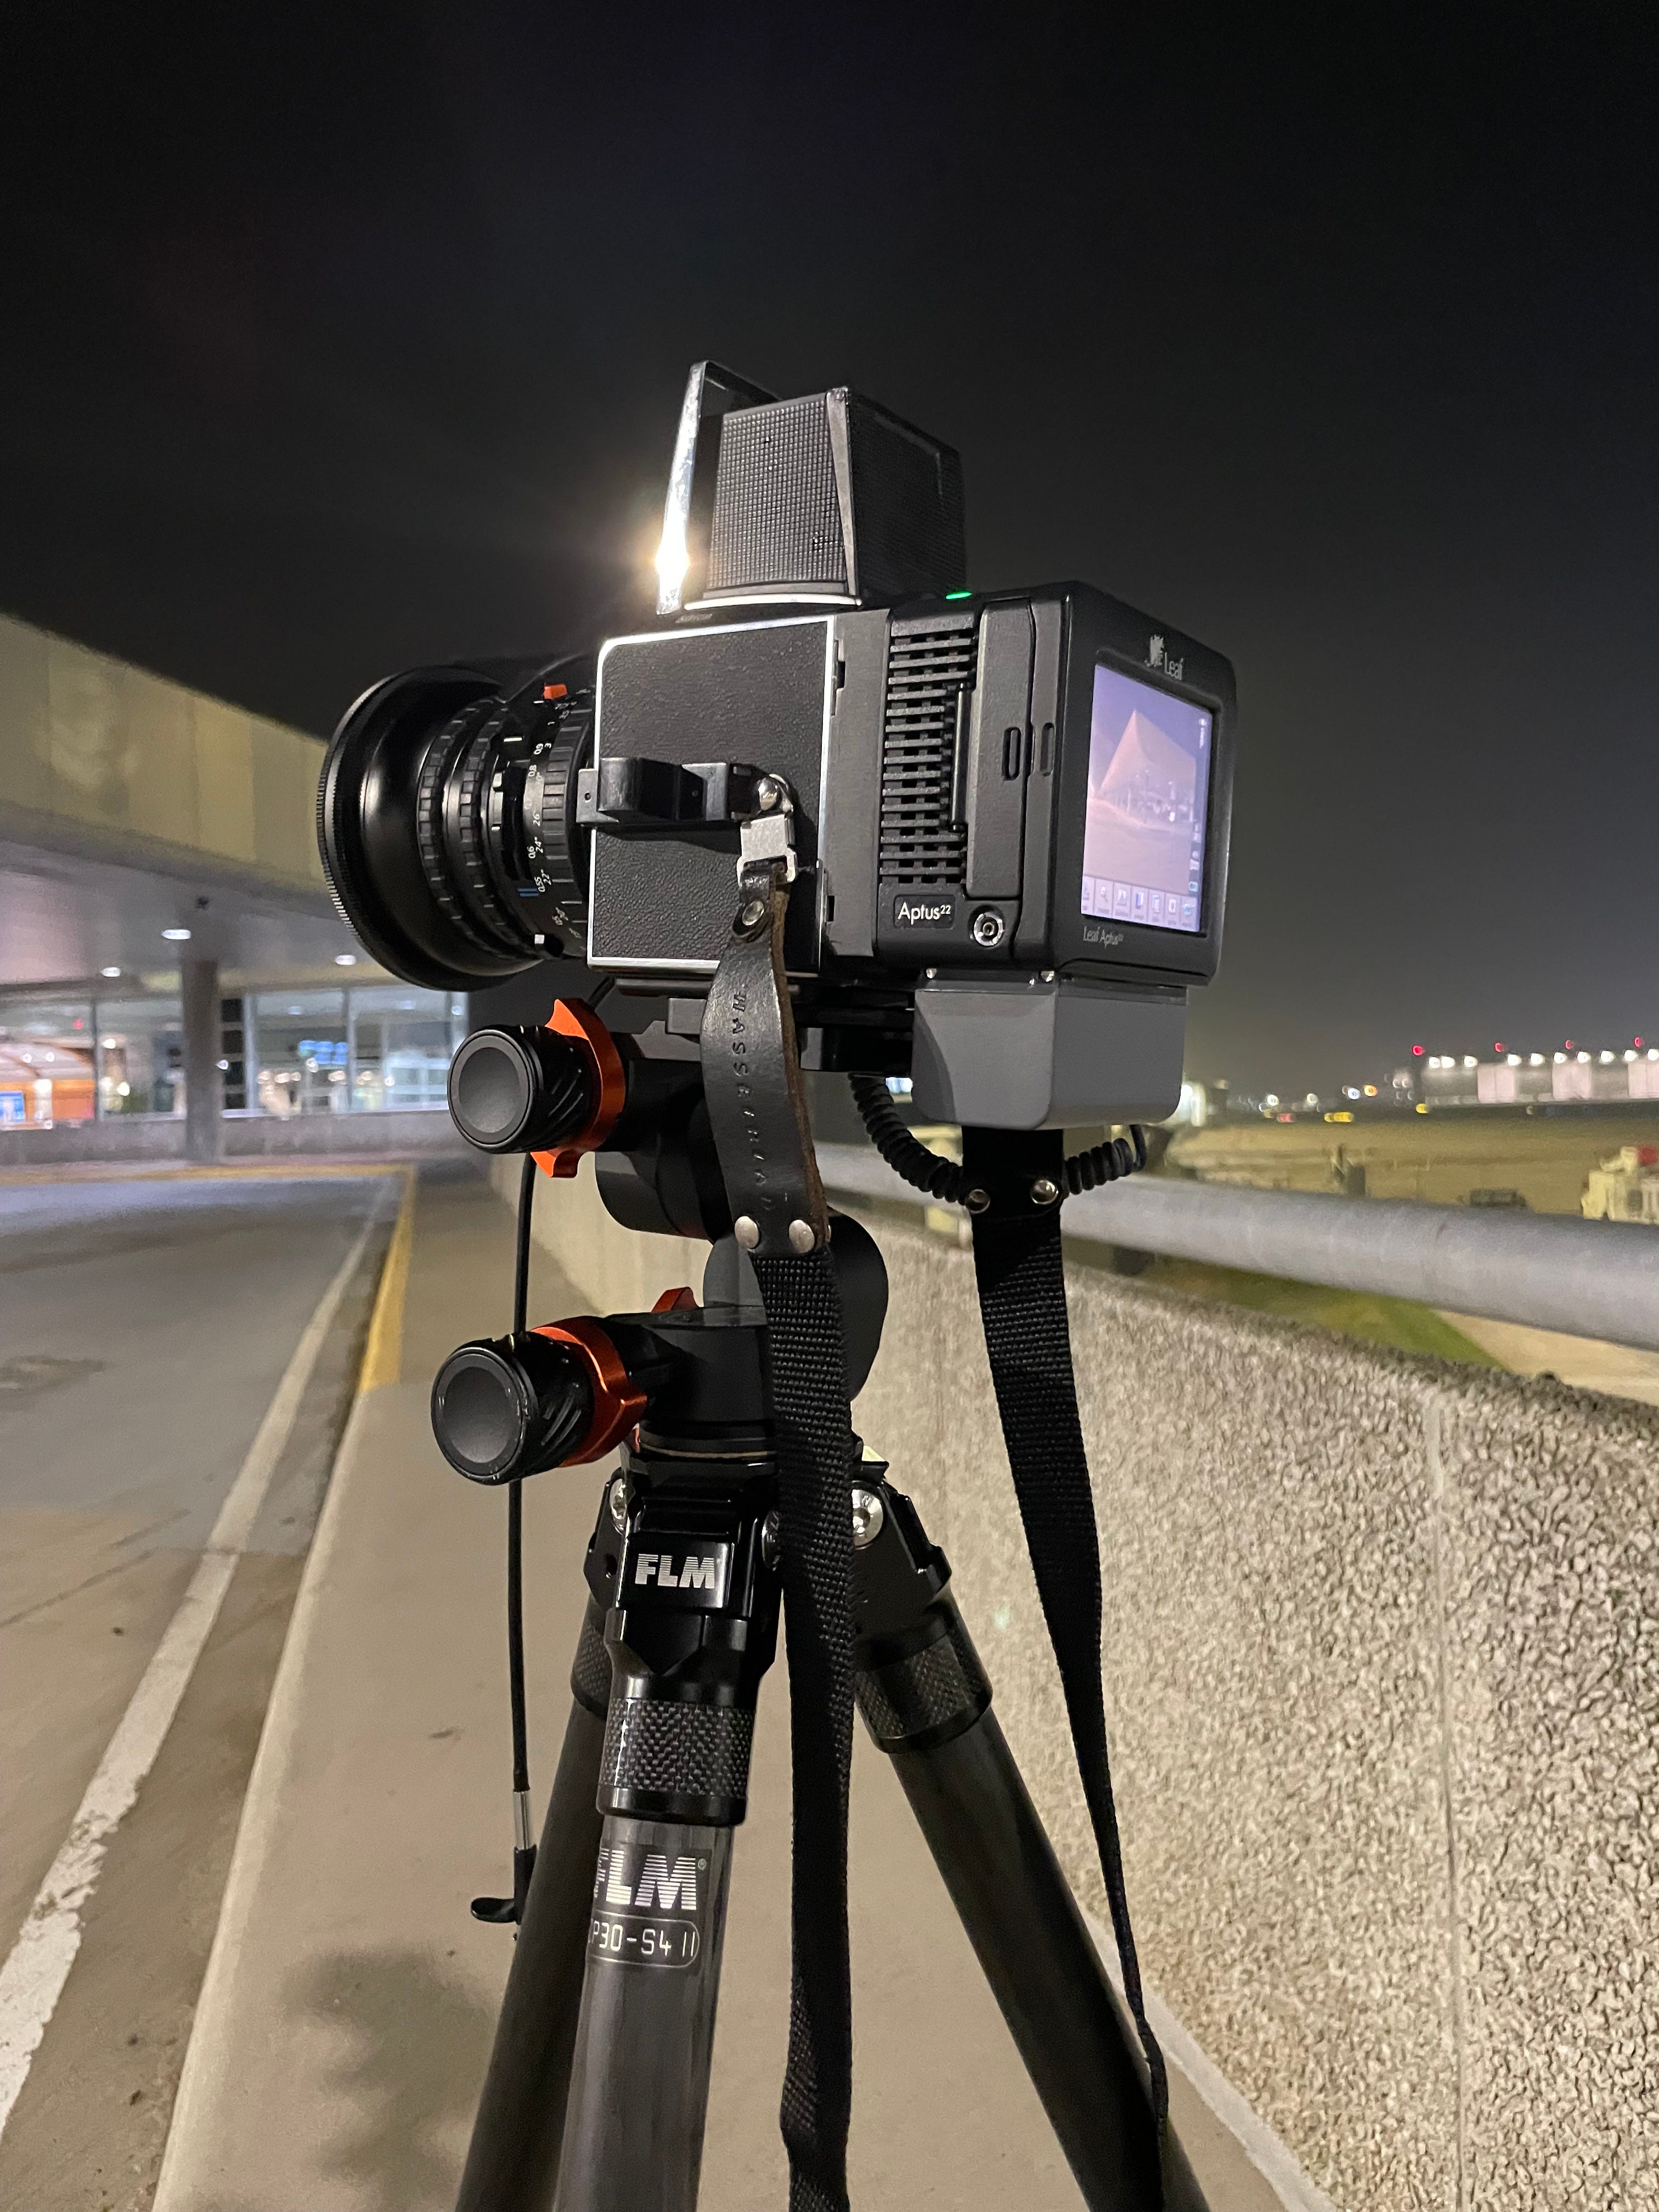
Using a tripod and shutter release cable, I tried some night photography. I measured exposure with my phone and checked the photos on the back screen.
Like many old digital cameras, the LCD isn’t very reliable. The viewing angle is extremely narrow, so judging exposure and color from the screen can be misleading. Plus, it’s not very accurate.
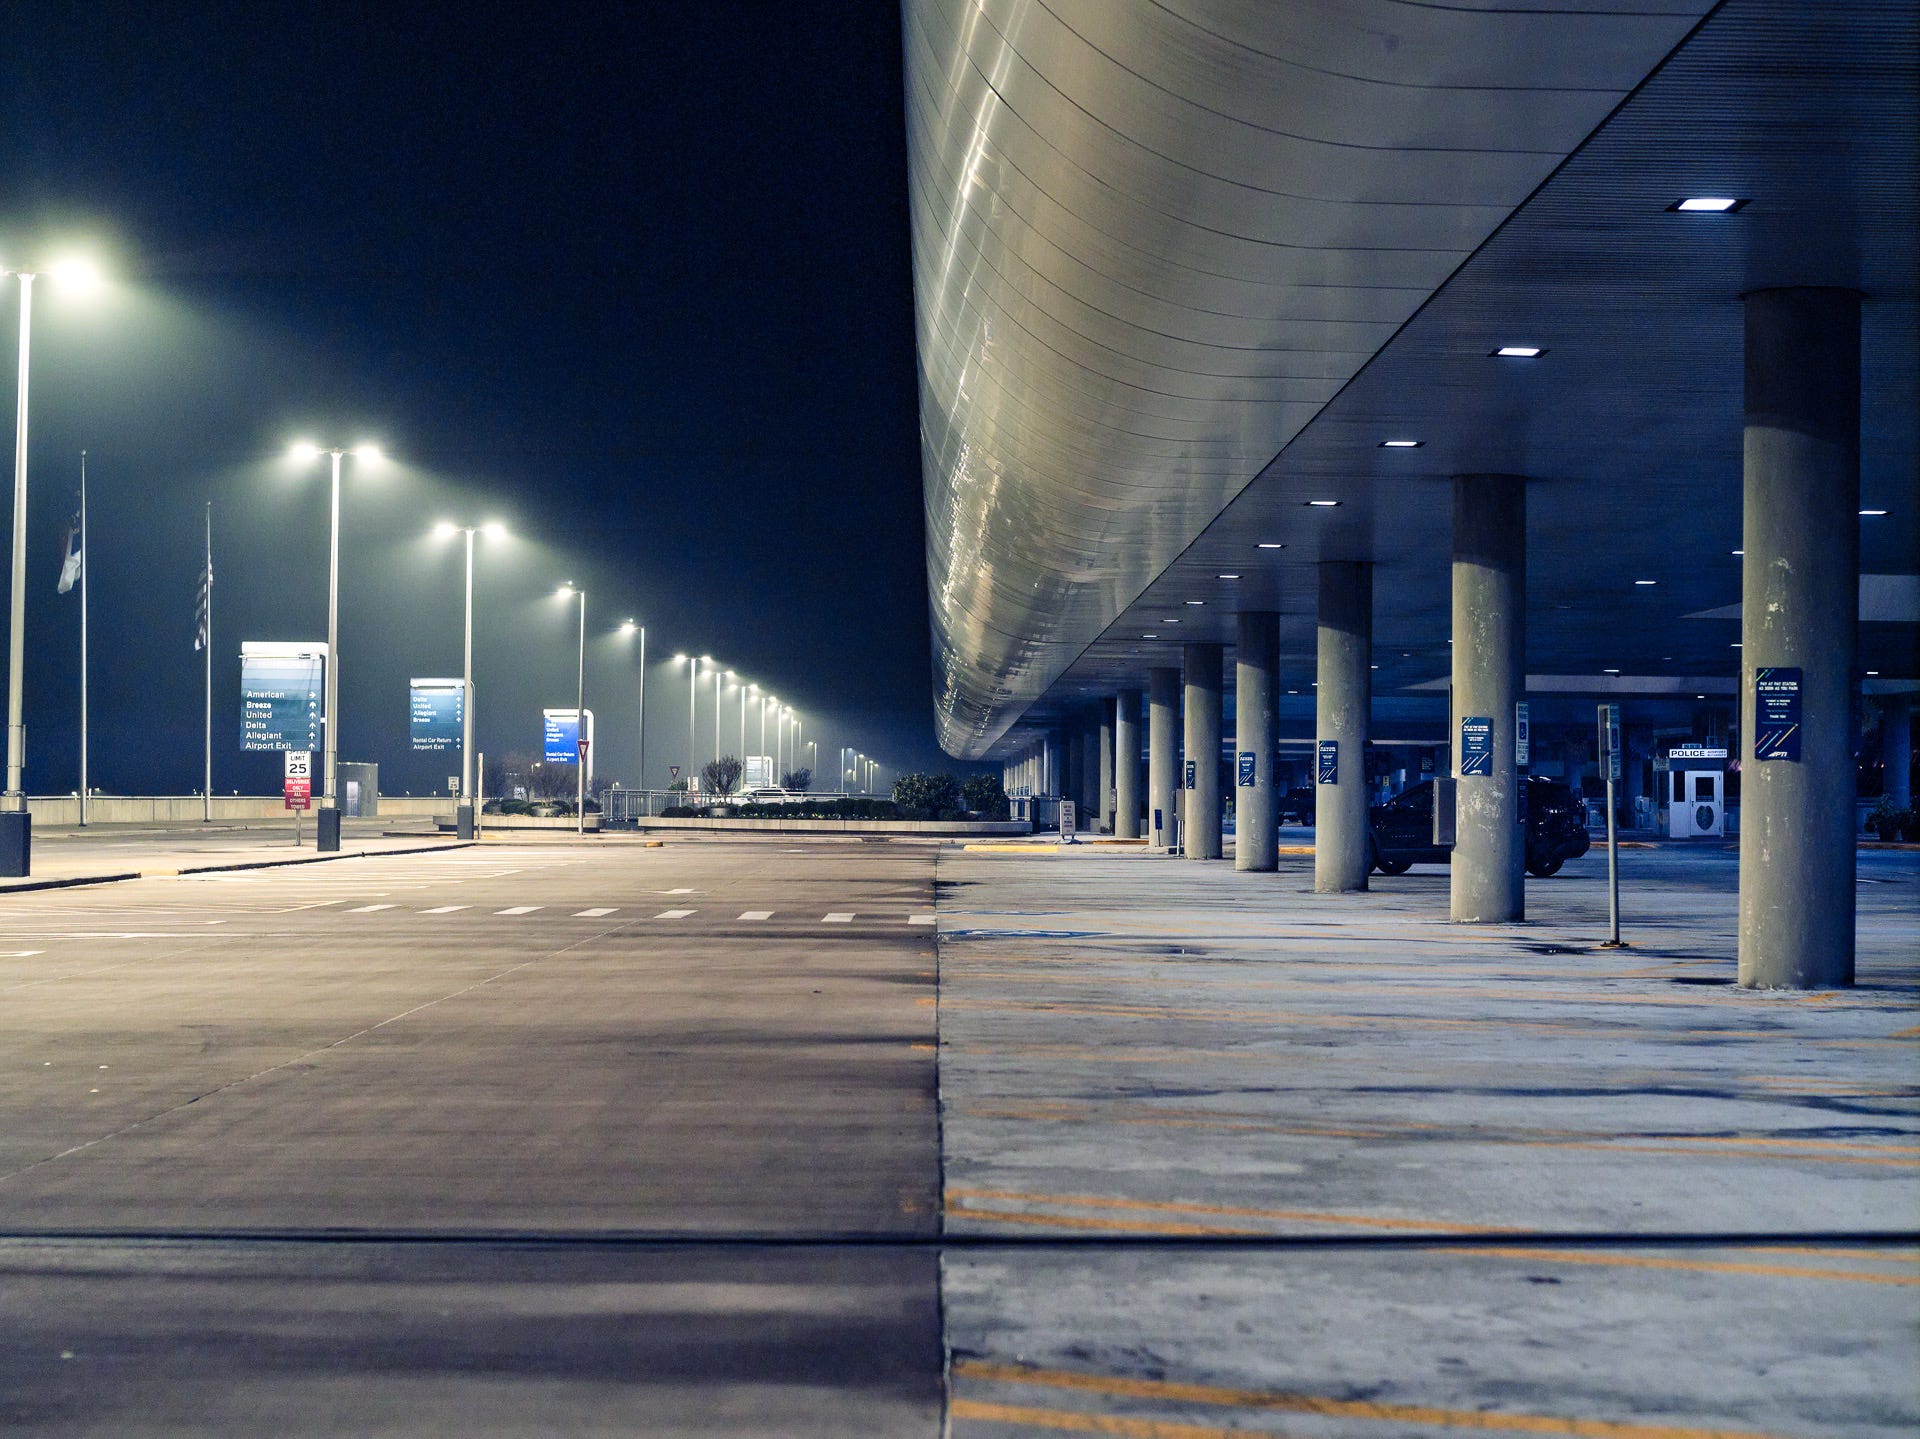
Even though I want an analogue experience and try not to check every shot, I learned from my first test that I should always check the exposure using the histogram.
In the early days of digital photography, CCD sensors had many limitations. Compared to modern CMOS sensors, they had almost no low light sensitivity and a very limited dynamic range. On the other hand, they responded differently to colors.
These old CCD sensors don’t have wide latitude or great highlight roll-off, but their 16-bit depth produces beautiful results when the colors stay within range.

The Aptus 22 has a large sensor but only 22 megapixels, which is where it gets its name. In 2005, that was a big jump from the typical 12-megapixel professional full-frame DSLRs.
With fewer pixels on a huge sensor, the photocells are much larger. That’s why it’s often called a “fat pixel large CCD” sensor.
With its large sensor and highly resolving Zeiss optics on the Hasselblad, the 22-megapixel sensor punches way above its class in terms of image quality, delivering clinically sharp results.
A semi-analogue experience

The Aptus 22 back gives you the digital convenience of taking more than 16 shots per roll, unlike the A16 film back. However, the process isn’t quick. You have to connect a sync cable from the leaf-shutter’s flash sync port to trigger the image capture.
The Aptus 22 has an ISO range from 25 to 400, with a native ISO of 25. This is similar to common film stocks at 100, 200, and 400 speeds.
You still have to follow the usual Hasselblad workflow: advance the film crank, focus, measure exposure, set the shutter speed and aperture, and then take the photo.
The 500-series cameras work well handheld, but the low native ISO means I use a tripod more often. To avoid vibrations, I use the mirror lock-up feature even more than I did with ISO 100 film.
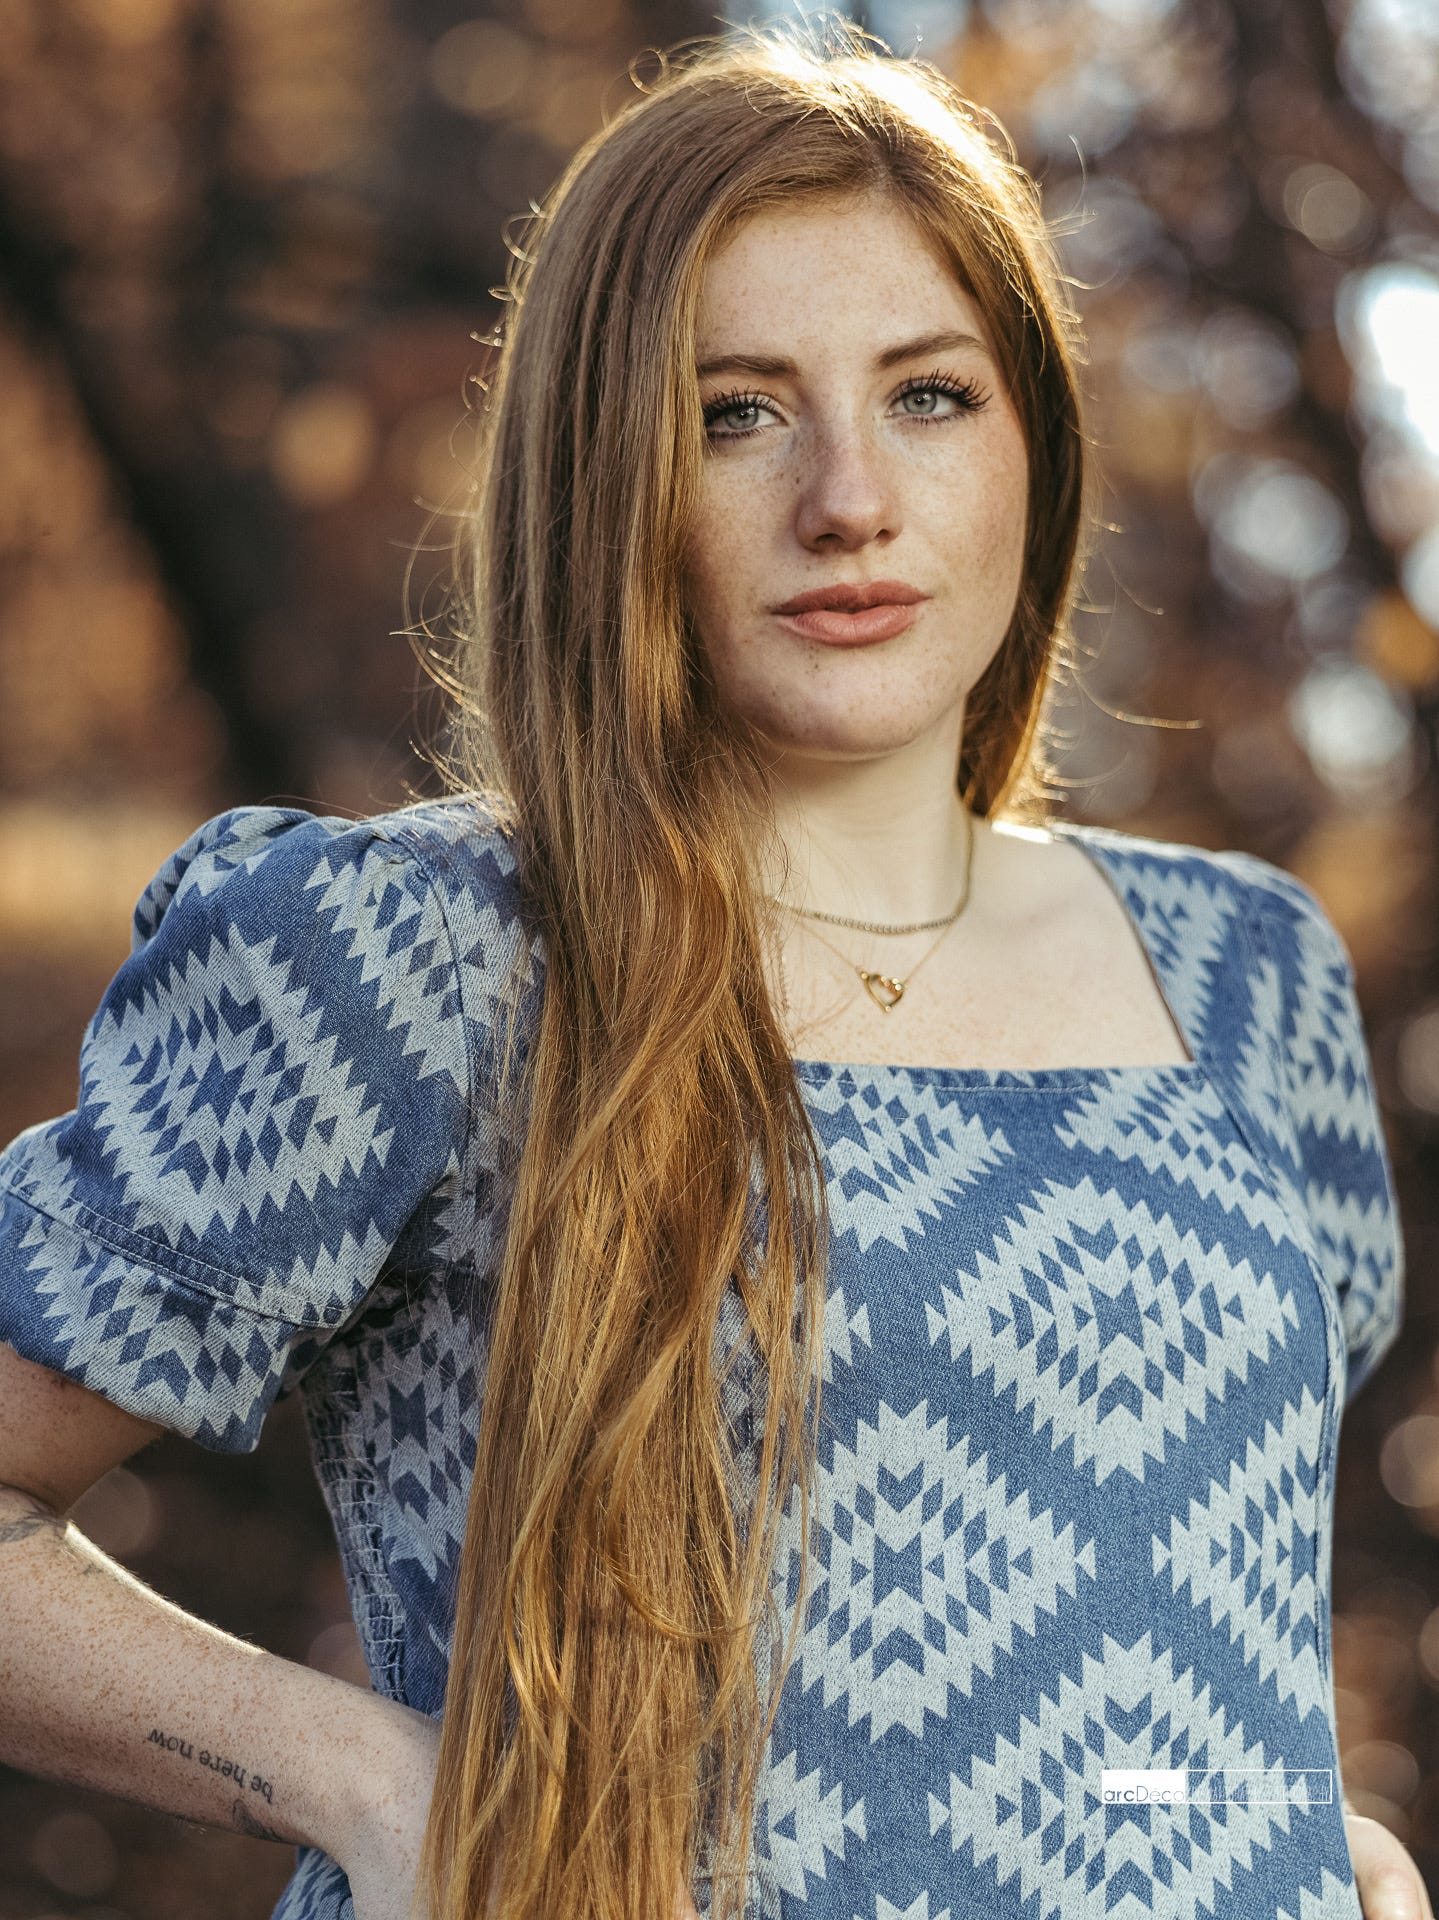
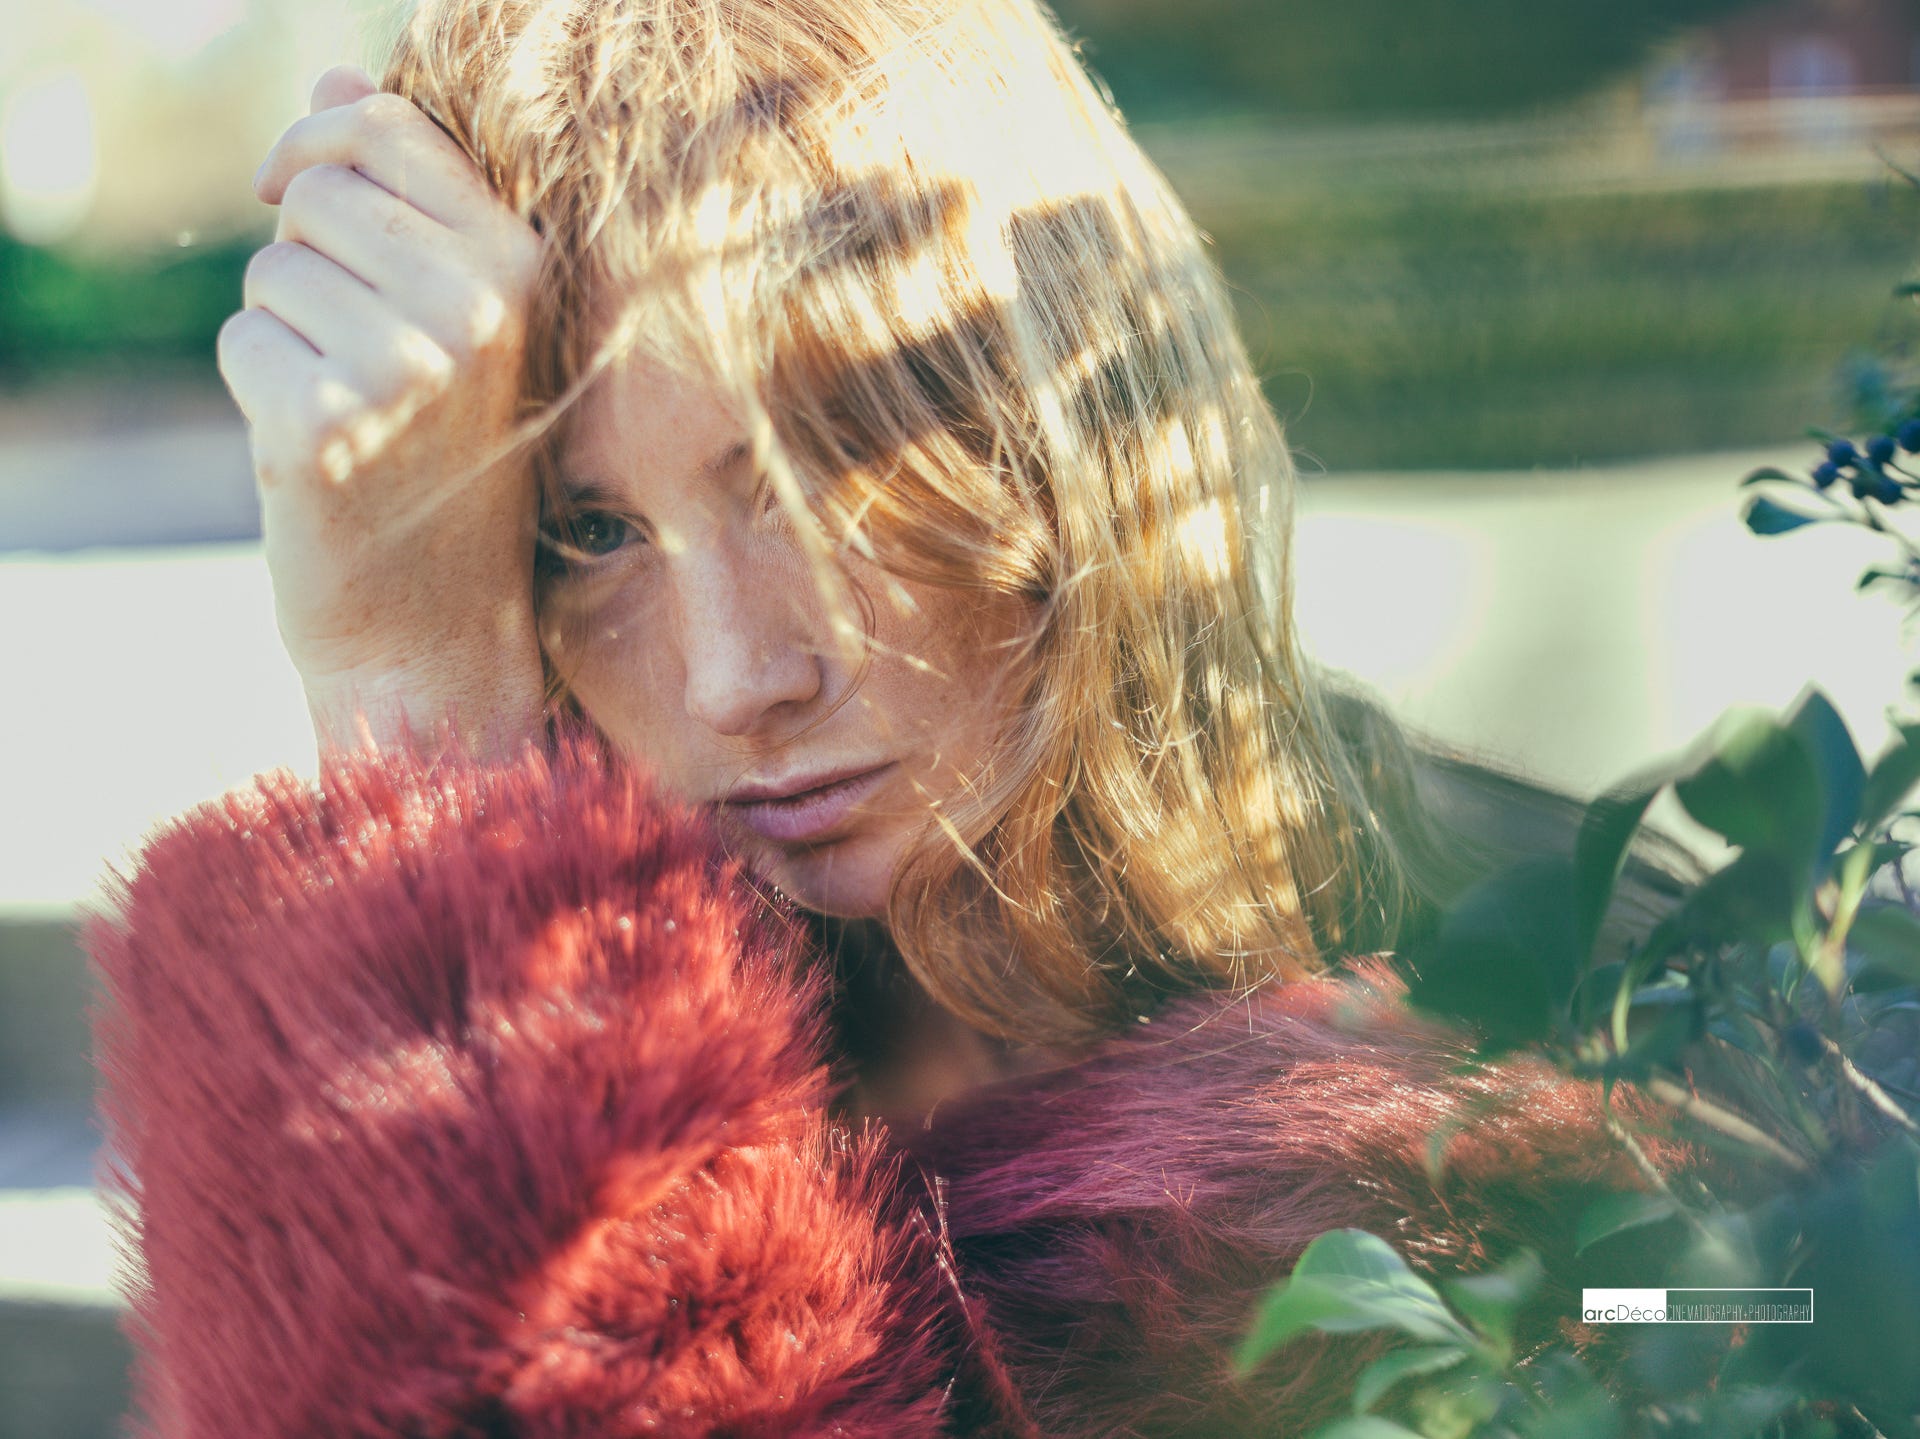
Model photography
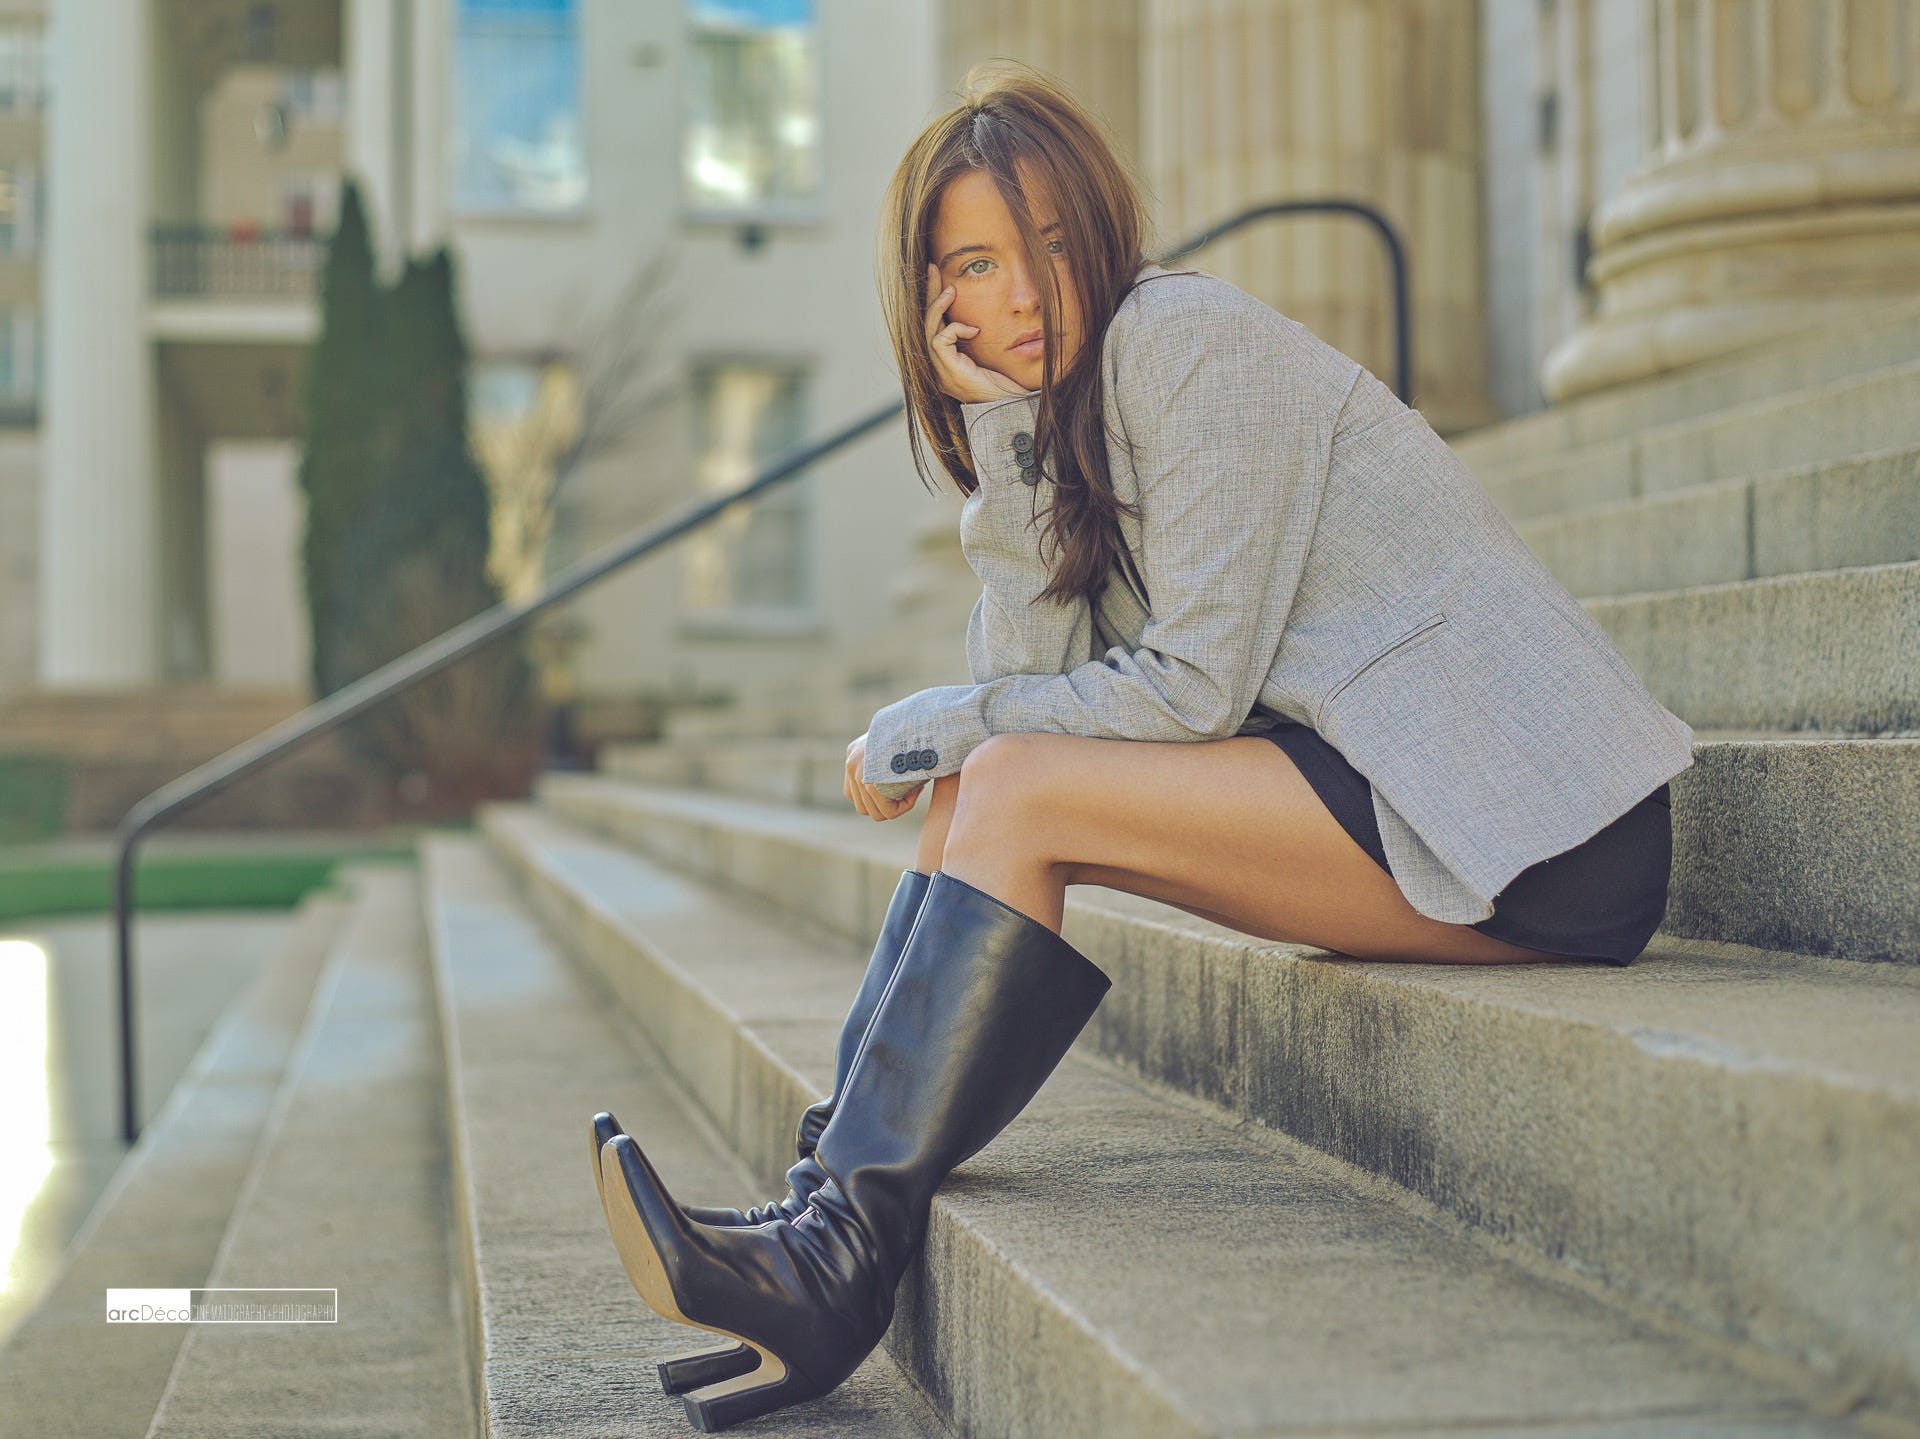
For landscape scenes, I keep the ISO as low as possible to achieve the best dynamic range.
For model portraits, I’m willing to make some trade-offs to get usable handheld shots. I usually set the ISO between 50 and 200, depending on the light. A low ISO is helpful when shooting outdoor daytime scenes with the 80mm f/2.8 lens wide open.
My very own strobe photography renaissance
Shooting portraits at such a low ISO also means I have to use my strobe more often.
For my first seven years of model photography, I only used strobes. But as sensor dynamic range improved, I got lazy and switched mostly to shooting with natural light.
With low ISO and limited dynamic range, I have to match the subject’s exposure more closely to the background, instead of relying on shadow recovery or pulling back highlights.
Words of caution
There are two main things to keep in mind if you’re thinking about going down this path.
First, if you enjoy using older single-coated lenses from the Hasselblad 500 series like I do, the sync port on your lenses will probably need service or repair. The circuit armature on the sync port might be completely worn out and need replacement if cleaning the contacts doesn’t help.
Second, the internal battery in a twenty-year-old digital back is probably dead. It’s not a big problem, but it is annoying. The camera resets its internal clock and assigns a random value as soon as you remove the main battery. There’s no 30-second grace period for a capacitor to keep the settings.
This makes organizing photos from multiple sessions confusing. If you charge the battery during a shoot, the clock can jump to a random year and date in the future!
To deal with this, I’ve made it a habit to change the file prefix to the session’s date in YYMMDD format. I also create a new folder for each session’s date to avoid any confusion.
Final thought
Like many historic cameras, this setup isn’t for everyone.
If you enjoy a slower, more thoughtful workflow and value the experience of photography over convenience. For someone who enjoys driving a manual car with a proper six-speed transmission, this setup is the perfect mix of analogue feel and digital benefits.
Damn the picture with Reese looks amazing! You made her look gorgeous!
I'm tuned for more.
I’ve thought about a digital back on a 500 C/M so many times…. Nicely done!